Toggle
Each completed press alternates between your configured on and off values. Use it for effect bypass or another two-state function supported by the receiving device.
ON → OFF → ON
Four footswitches with rotation. Two control modes. Four MIDI connection methods. Step to trigger, turn to adjust, and keep your rig under control from the floor.
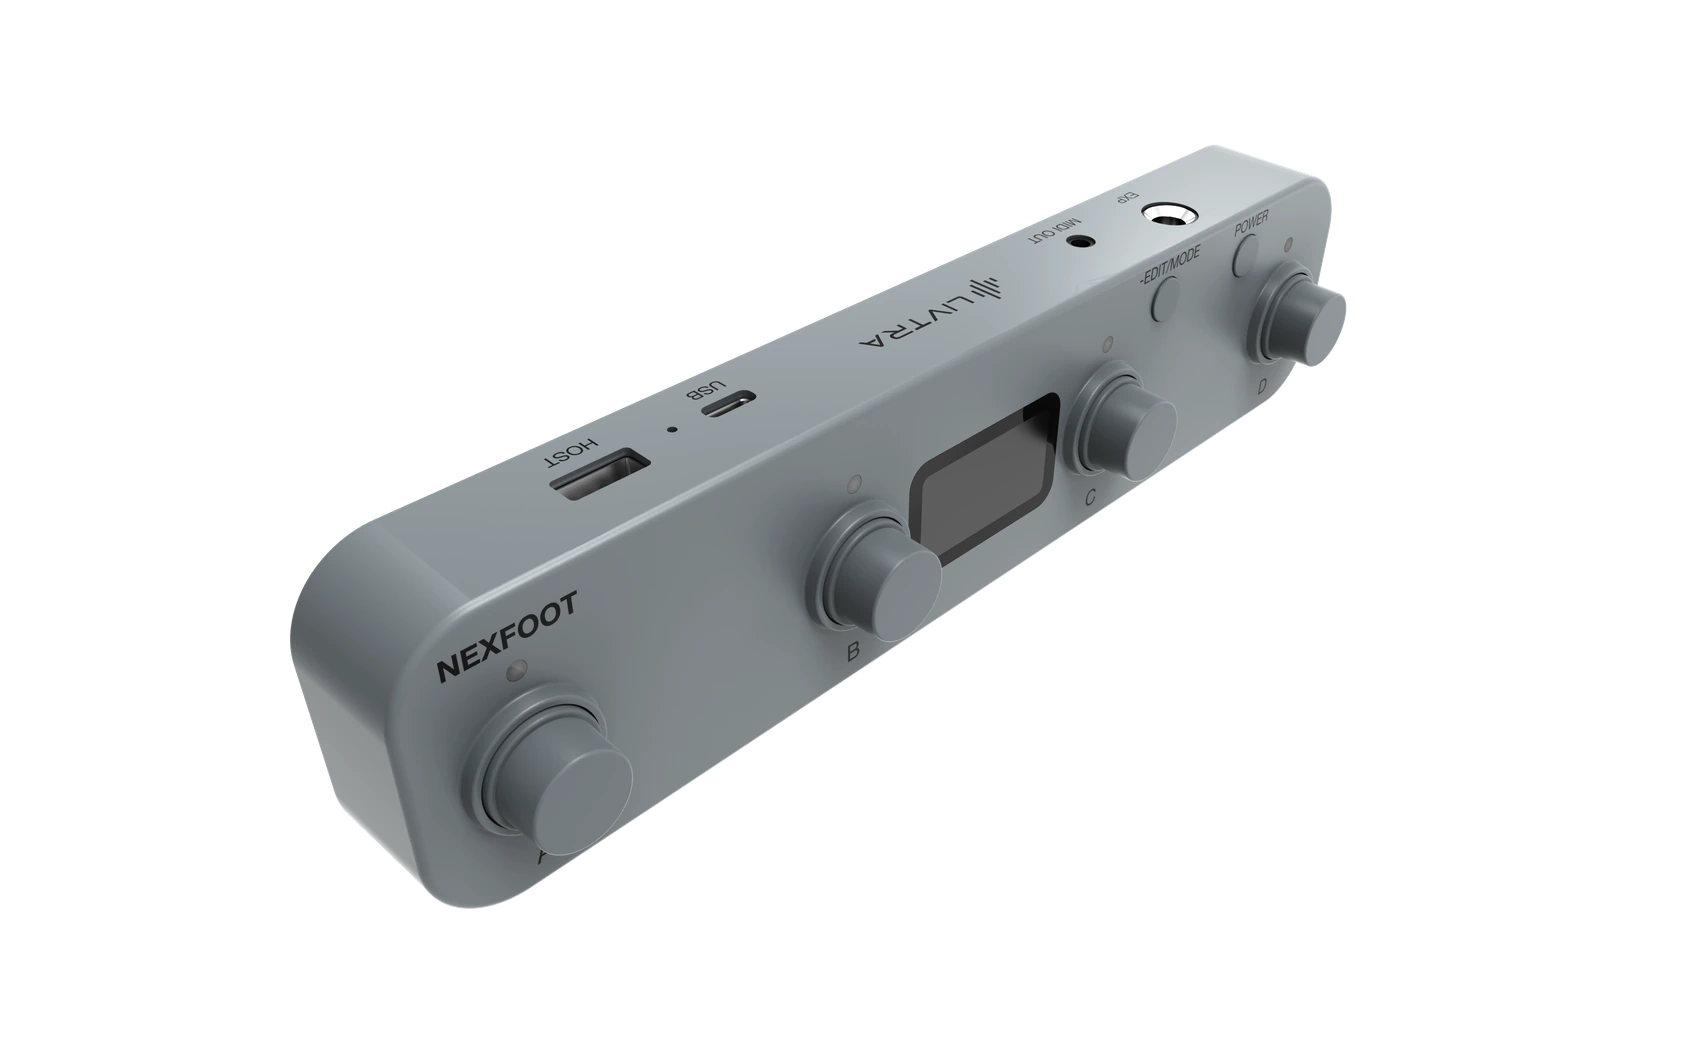
Press to send a command. Turn to adjust a parameter. NEXFOOT brings switching and continuous control together in four footswitches.
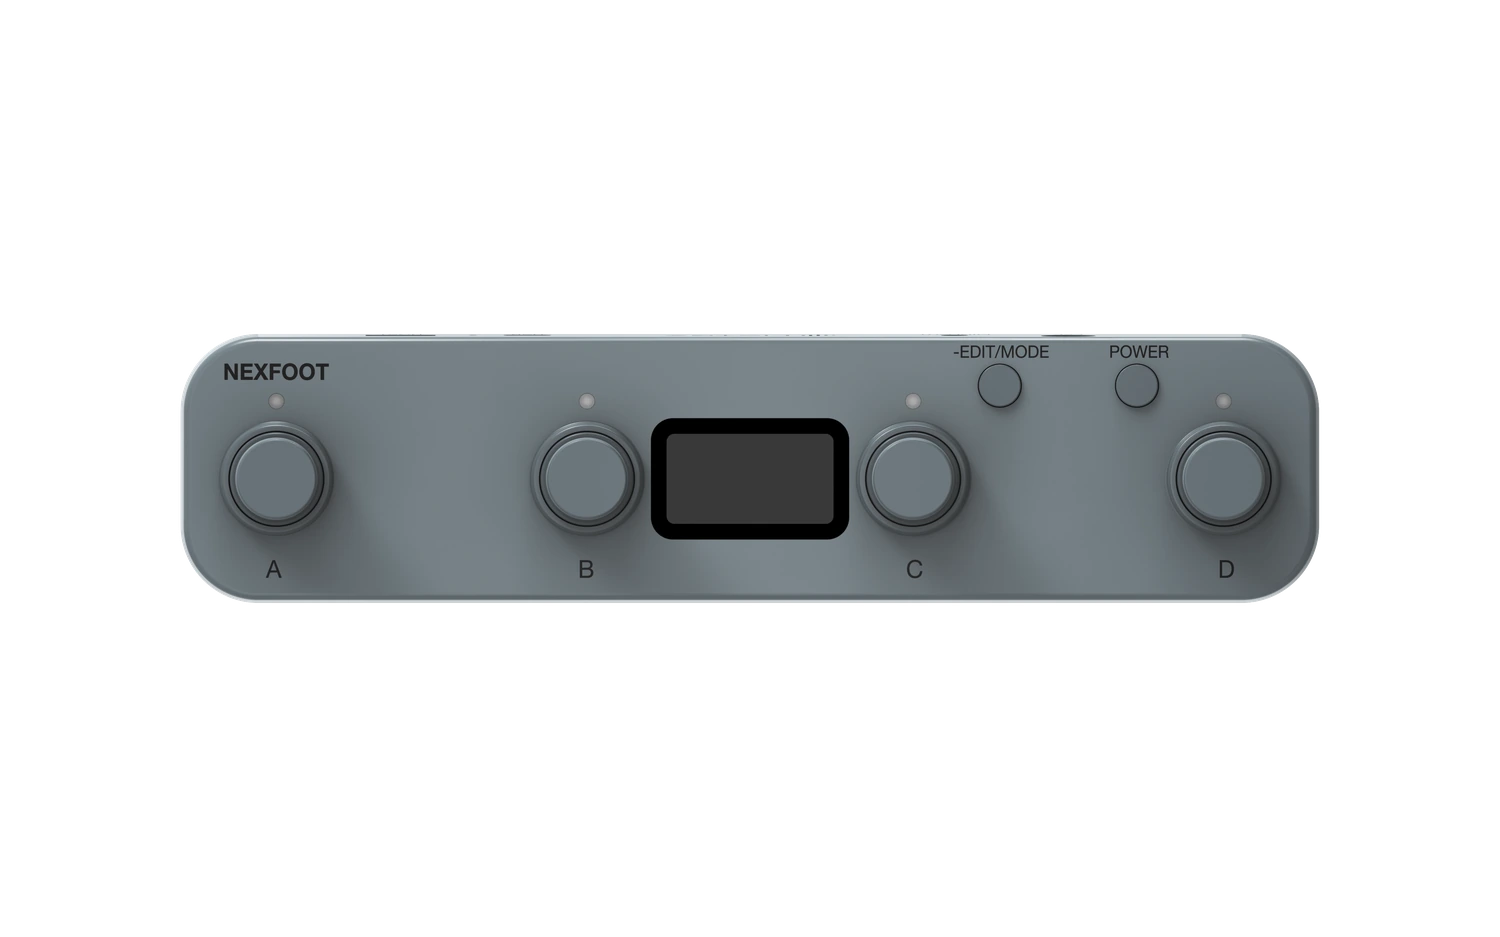
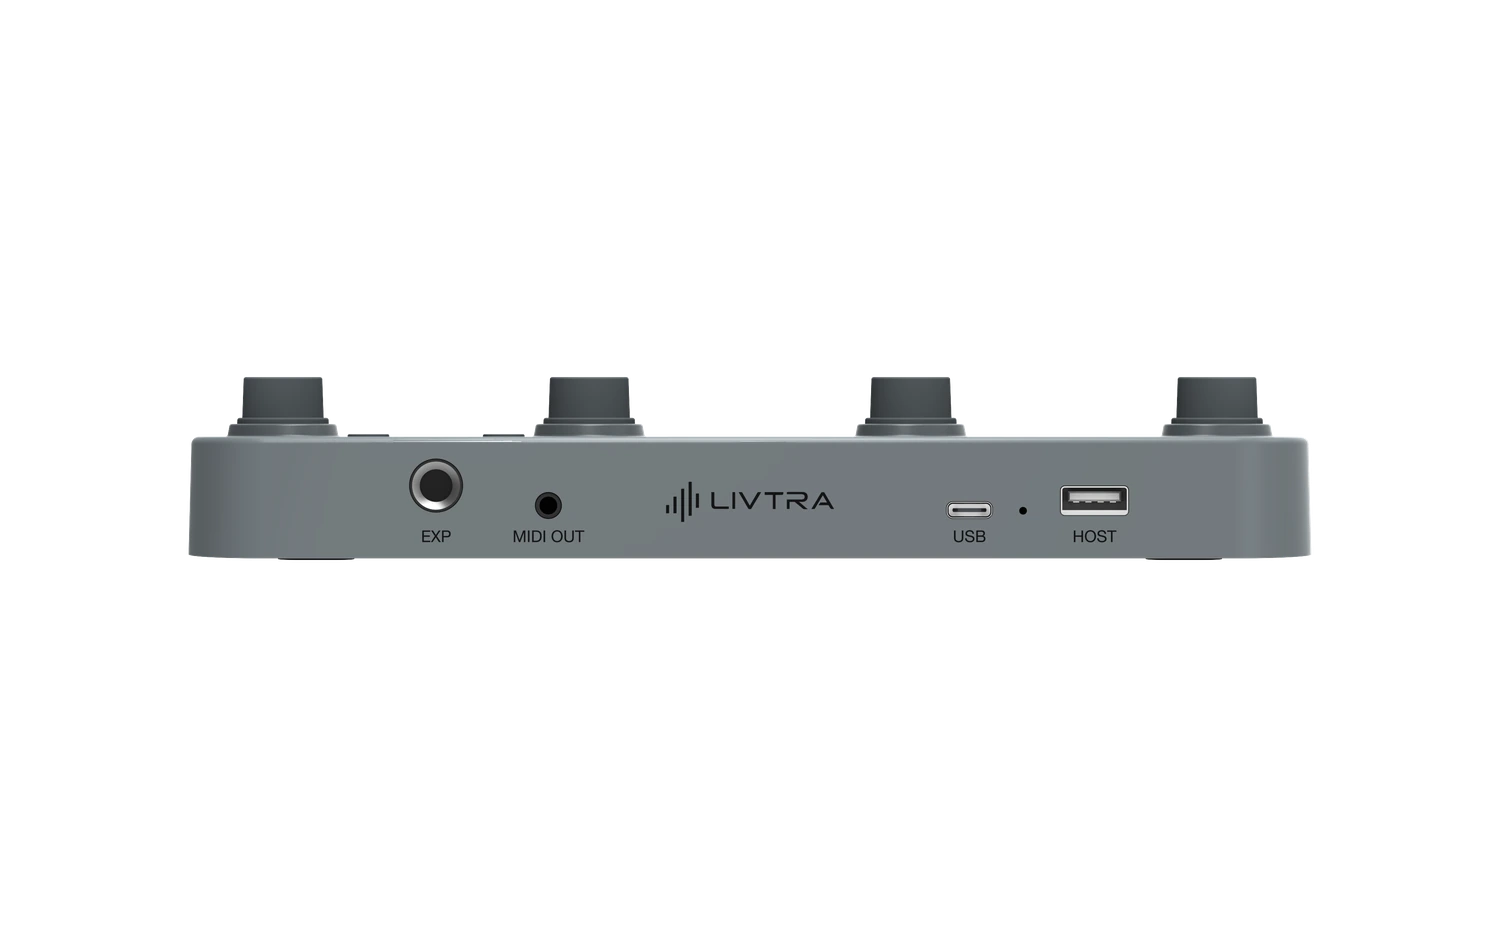
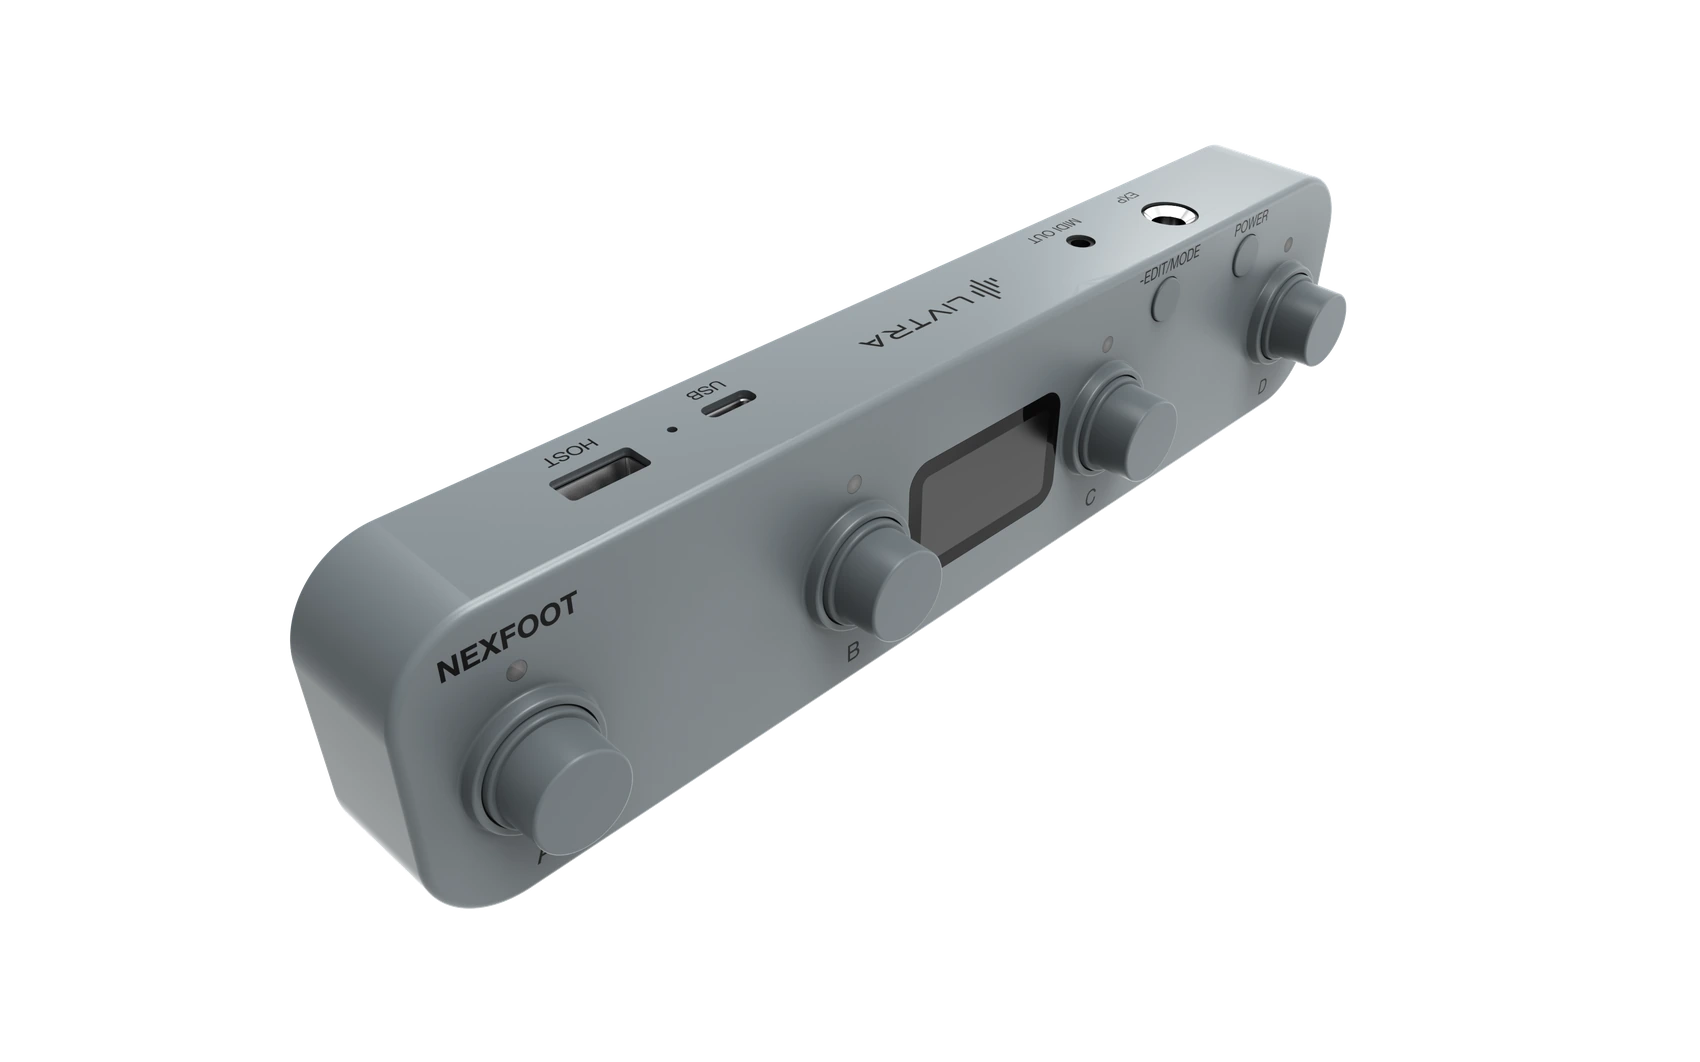
Choose MIDI for direct message control, or PEDAL to organize your assignments into banks. Both modes control your gear through MIDI.
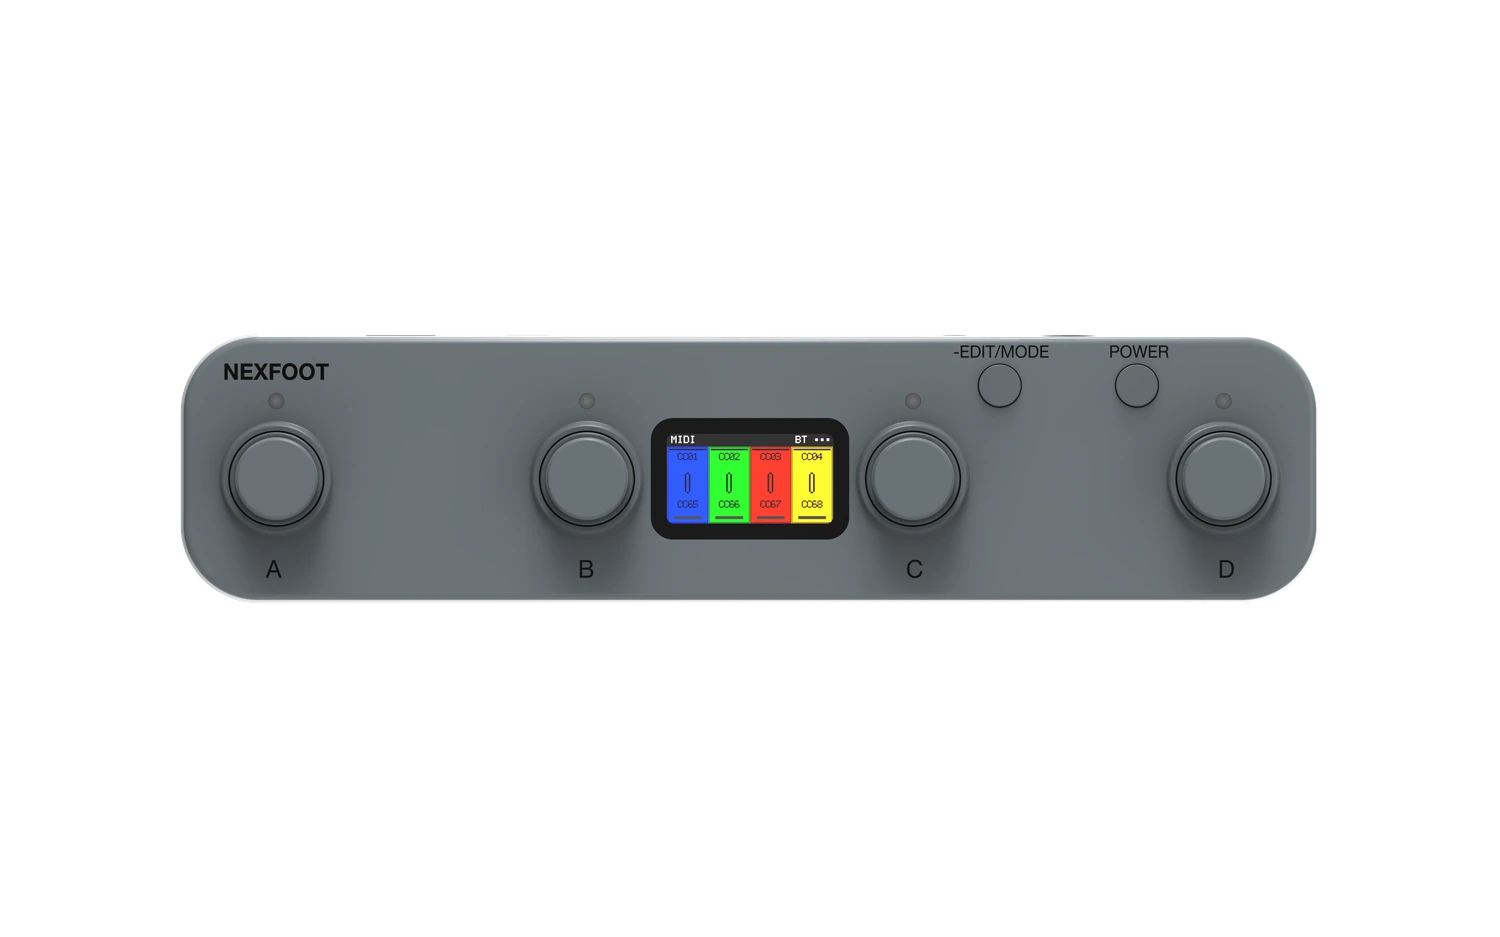
Give each footswitch two independent jobs: press to trigger an action, and rotate to adjust a parameter. Choose the message type, channel, and values to match the MIDI chart of the device you want to control.
Each completed press alternates between your configured on and off values. Use it for effect bypass or another two-state function supported by the receiving device.
Send the on value when you press down and the off value when you release. Useful for temporary effects or hold functions that should last only as long as the press.
A completed press sends the on value followed immediately by the off value. Choose this when a mapped function expects a brief trigger rather than a held state.
Send the same configured value with every press. Recall a specific program or set a MIDI parameter to a known value without alternating states.
Assign footswitch A’s press to a delay bypass CC with Toggle behavior, then map its rotation to delay mix. Step to switch the delay; turn to set the amount. Use the CC numbers and on/off values specified by your delay device.
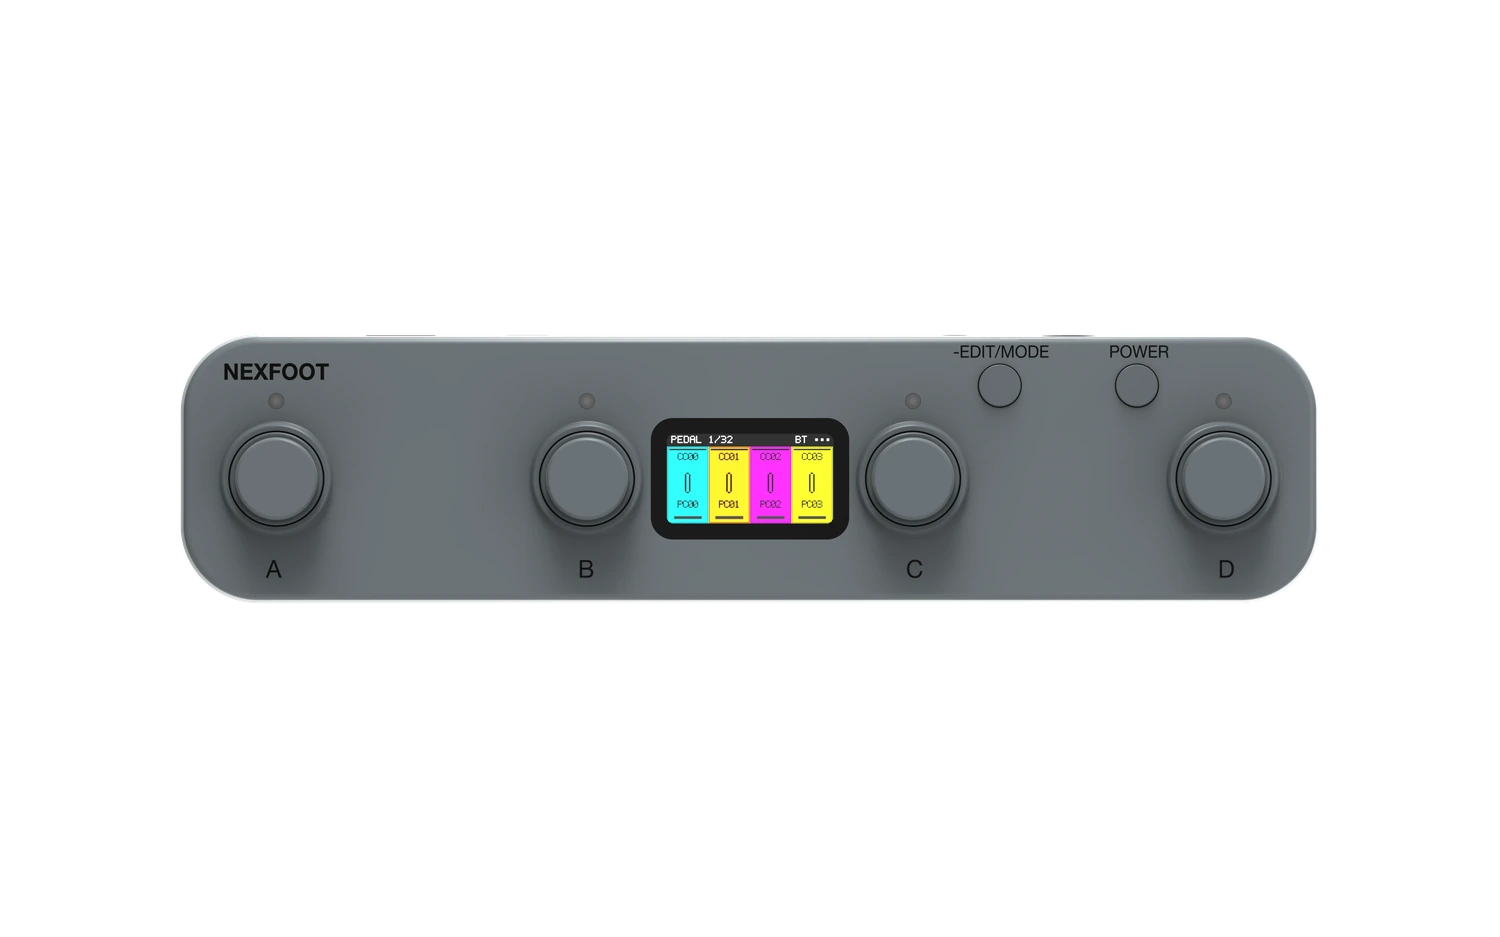
Group assignments into banks for songs, sounds, or different parts of a performance. Each bank gives A, B, C, and D their own press and rotation mappings. A normal footswitch tap sends its configured command when released.
Press A + B together, then release, to move to the previous bank.
Press C + D together, then release, to move to the next bank.
For example, assign clean, crunch, lead, and ambient program changes to A–D on a compatible processor.
Use the two-foot combination to reach another bank for the next song or section.
Tap the desired footswitch to recall the sound, then turn it to adjust its separately mapped parameter.
Choose a message for the job, then match it to the gear you use.
NEXFOOT sends control messages. The receiving device’s MIDI implementation determines which functions are available.
Use wired or wireless MIDI, and combine available outputs in one setup. Match the receiving channels and assignments on your connected gear.
Connect NEXFOOT to a computer or a compatible phone/tablet host. Enable its musical MIDI port in your application, then match the receiving channel. Mobile setups may require a suitable USB adapter.
Pair from the BT MIDI connection controls in a compatible music application or operating system. Enable the connection before using the mapped controls; BT MIDI carries control data, not streamed audio.
Connect a compatible USB MIDI device directly to NEXFOOT’s HOST port. NEXFOOT takes the host role for this connection, so a computer is not required in that control path.
Send MIDI to a pedal, processor, or synth’s MIDI input. Use compatible TRS MIDI wiring or an appropriate adapter for your equipment. This connection is an output, not an audio or expression-pedal socket.
Performance messages go to available outputs together. Plan your receivers’ MIDI channels and mappings so each device responds as intended.
Start with one useful mapping, check the response, then build the rest of your performance setup.
Choose a MIDI connection, enable the receiving device or application, and check its MIDI channel.
From the normal control view, double-press EDIT/MODE to switch between MIDI and PEDAL. From PLAY, short-press once to return to the control view first.
Hold EDIT/MODE to enter Edit. Choose the target control and set its MIDI message, channel, number, and values. Map press and rotation separately where needed.
While editing, double-press EDIT/MODE to save. Hold it to leave Edit, then test a press or turn against your connected device. Save again after further changes.
Set mappings on NEXFOOT itself, or use the computer and phone editors for a broader view of your configuration. Give actions recognizable names so PLAY view tells you what you are sending.
Save before leaving Edit. Exiting without an explicit save discards unsaved changes; changing modes is not a save action.
A few essentials for building your MIDI setup.
NEXFOOT is a MIDI controller. It sends commands to other equipment; your audio stays in your instrument, effects, processor, or audio interface. Connect the audio path separately from MIDI control.
Yes. Connect a compatible expression pedal to EXP, choose expression operation rather than switch operation, calibrate its travel, and assign the MIDI parameter and range you want to control. For example, map it to volume or an effect amount supported by your receiving device.
Check the connection and the receiver’s MIDI input first. Then confirm the MIDI channel, message type, CC or program number, and value. USB-A HOST connects to a MIDI device; USB-C connects to a computer or compatible host. For TRS MIDI, check the required cable wiring or adapter.
PLAY is a focused display view, not a third control mode. It shows the outgoing command and its action name while the selected MIDI or PEDAL workflow remains active. In PEDAL mode, bank combinations still work in PLAY.
Controls, display, and connections for your MIDI setup.